Well, we're definitely in the throes of summer, and while the heat can get pretty brutal this time of year, it's even worse if your vehicle doesn't have any window tint film installed. It's never a fun time getting into a car that's over 120 degrees and sitting there until the air conditioner cools things off. Luckily, with a little car window tinting, you can block out the light and UV rays with ease.
Tinting car windows isn't actually as hard as you might think. It just takes a little patience, and having the right tools makes the job a lot easier. Sure, you could pay someone to do a tint job for you, but if you enjoy a hands-on DIY project, doing your own car windows can be a rewarding challenge. To make things easier for those that are interested, let's go over how to tint car windows.
Keep in mind, when purchasing your window tint kit, that there are specific state laws on how dark you can tint your windows. Be aware of what percentage tint is considered legal and illegal in your state before you go buying that five percent blackout tint.

Preparation
First of all, you'll want to find a place that's going to be comfortable to be in for a while. It's preferred to do this in some type of garage or covering if possible to prevent any dust or dirt from getting under the window film. Remove any stickers or adhesives that are on the window. Window cleaning is essential. Use soapy water and a scraper blade to clean the entire window and remove any grime from the surface of the glass. After that, you can use a clean lint-free cloth to get it dry.
Remember to roll your window down slightly so you can reach all the way to the top edge, and get under the window seals as well. It's important not to miss any spots. You'll want to prepare lots of soapy water in a spray bottle for this, because you'll need to use it pretty consistently throughout the installation process.
Never use any cleaning solution like Windex, or cleaners with ammonia, or you'll end up looking like that Honda from down the street with purple-tinted windows.
Measurement and Cutting
Whether you're doing the side windows or the rear window, it's best to measure and cut the tint on the outside of the window, even though you'll be applying the tinting film on the inside of the car's windows. Tint is like a giant sticker. It has a side that peels off, and you want that side to be facing you while you temporarily stick the film to the outside.
Make sure the window is rolled all the way up before beginning. Spray the glass down good with soapy water, and begin to roll the film out to cover the entire window, making sure you have at least two to three inches of extra tint on all sides. Cut the tint into a square with a razor blade, ensuring you leave enough room to reach all the edges.
Apply a layer of soapy water to the outside of the film, and use a squeegee to make sure the layer is sitting as flush as possible on the glass. Next, you can take your razor knife and cut the bottom and left edges. Use the edge of the window to trace your knife across the tint for an accurate cut. When finished, the bottom and left edges should line up perfectly, and the rest should still be square.
Next, you'll want to pull the entire layer to the left about an inch. This ensures the left side will cover the whole edge, even inside of the seal. Once you shift the film to the left, you can now cut the right edge of the tint using the seal as a guideline. After cutting the right edge, partially pull the layer back toward the right, leaving about half an inch of film on the left and right sides.
You'll do this same process to cut the top edge. Pull the piece of film downwards roughly one inch to ensure the tint covers the bottom of the window going into the door, and run your squeegee over it again to keep it laying flush. Lower the car window slightly, and use the top of the glass as a guideline for cutting the top edge. After cutting, pull the film back upwards slightly. You should now have around a half inch overlay on all sides.
You may need to spray more soapy water under the film to make it stick better. Adjust the film so that it lays perfectly on the outside of the window with a bit of overlay on all sides. Working down, use a heat gun and a hard card to push all the air bubbles to the bottom. Once you remove all the air, run the heat gun along the bottom to ensure it's all dried out. You can leave the tint stuck here until you're ready to apply on the inside of the glass.
Adhering the Tint
Make sure you've cleaned the inside of the window thoroughly, also getting under the seals. Apply another layer of soapy water to the surface.
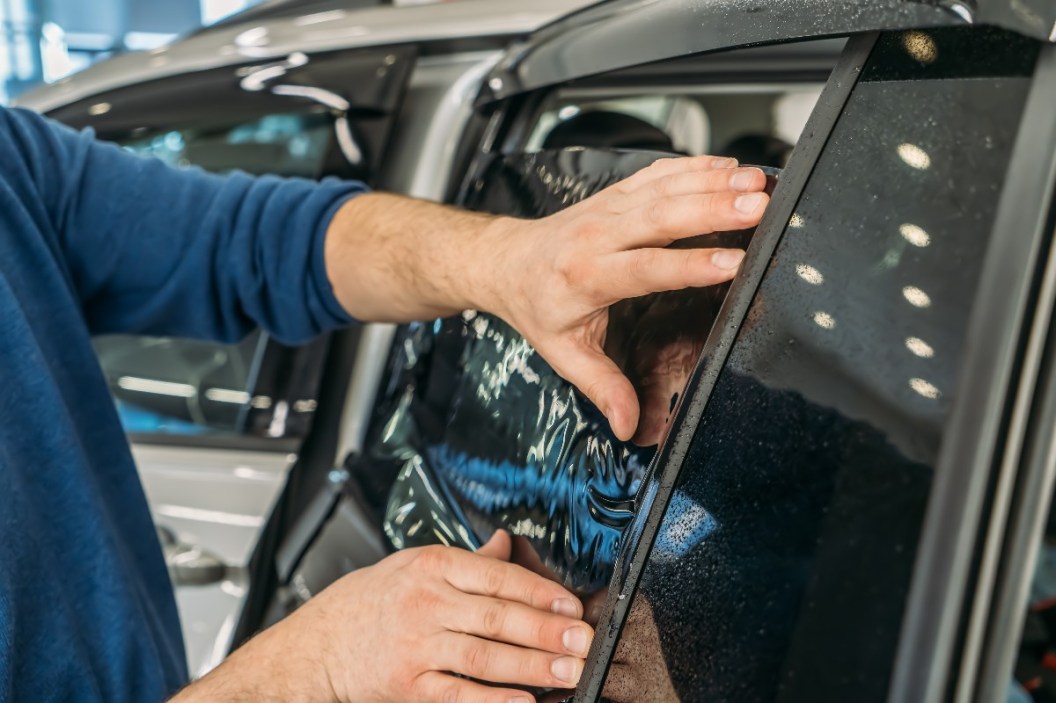
Remember when I said tint is like a sticker? Well, there is a removable layer on top of the tint film, and you'll want to pull it off starting from the top. Peel it downward, but only remove the top half of the layer for now. Spray the freshly exposed area with soapy water, and you're good to adhere. Make sure your window is rolled slightly down, and begin to fit the top half of the tint with the inside of the window. The water should make the film move around easier on the window.
Work the left and right edges of the tint to slide into the window seals. You may need to lift up on the seal with one hand and slide the tint with the other. Spray down the tint again, and use a squeegee or hard card to push out the water. Just focus on the top portion, and make sure the tint lays flush where it needs to be.
Once your happy with the top half, roll the window back up. Now, you can spray the bottom half of the glass with soapy water. Remember, the water helps a lot for aligning the tint without sticking, so be generous. Peel back the remaining release layer, spray down the newly exposed tint with the water, and begin aligning the bottom portion of the tint. Again, you want to make sure all the edges are getting under the seals. Coat the surface with more soapy water, and use your hard card to push all the air bubbles and water out. Try to work your way downward and outward. The tint should finish off to be as smooth as the glass itself, and it should fit perfectly.
So, there it is! It's really not as complicated as you might think, but I will refer back to my statement earlier that this job will go tremendously smoother with the proper tools. Hopefully you decide to try it out for yourself on your own ride. Not only will it teach you a new skill and save you some money, but it's an oddly satisfying process from start to finish.
Products featured on Alt_driver are independently selected by our editors. However, when you buy something through our links, we may earn a commission.
This post was originally published on July 29, 2020.